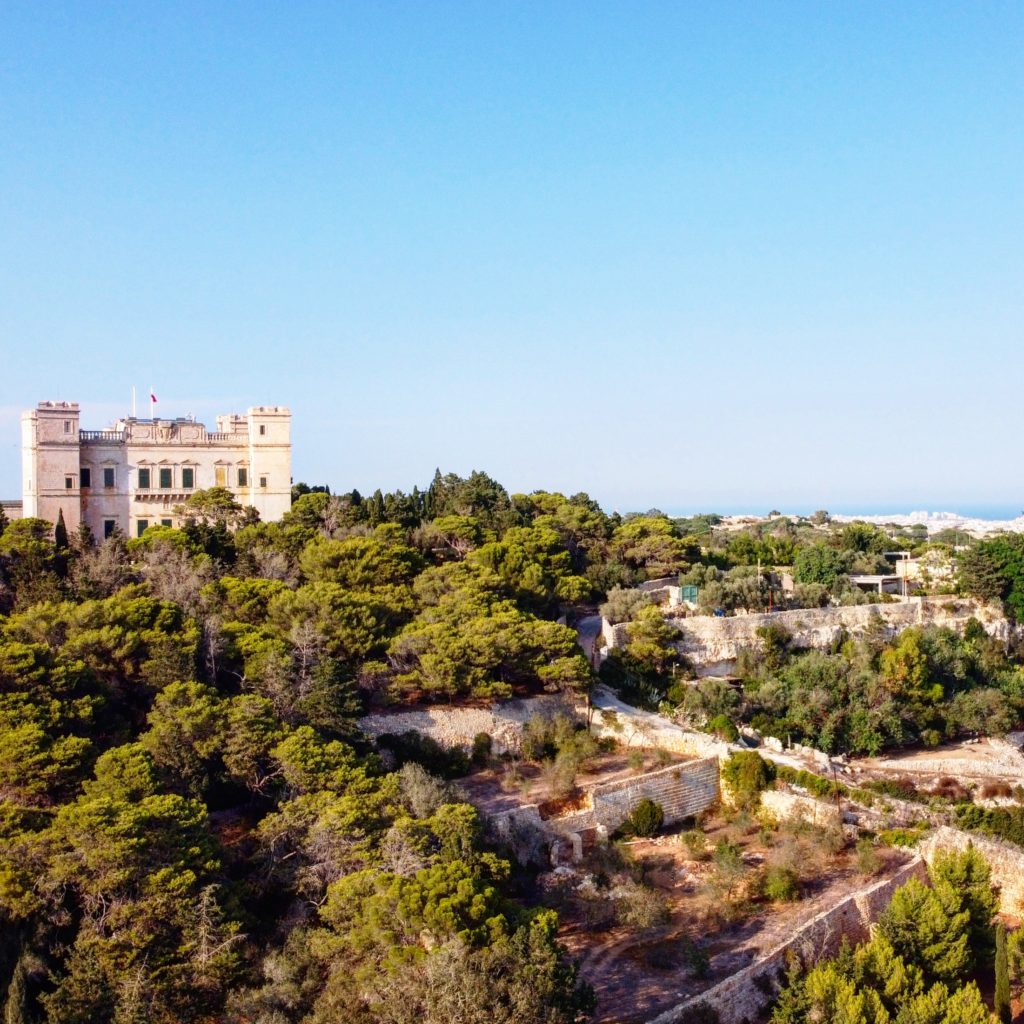
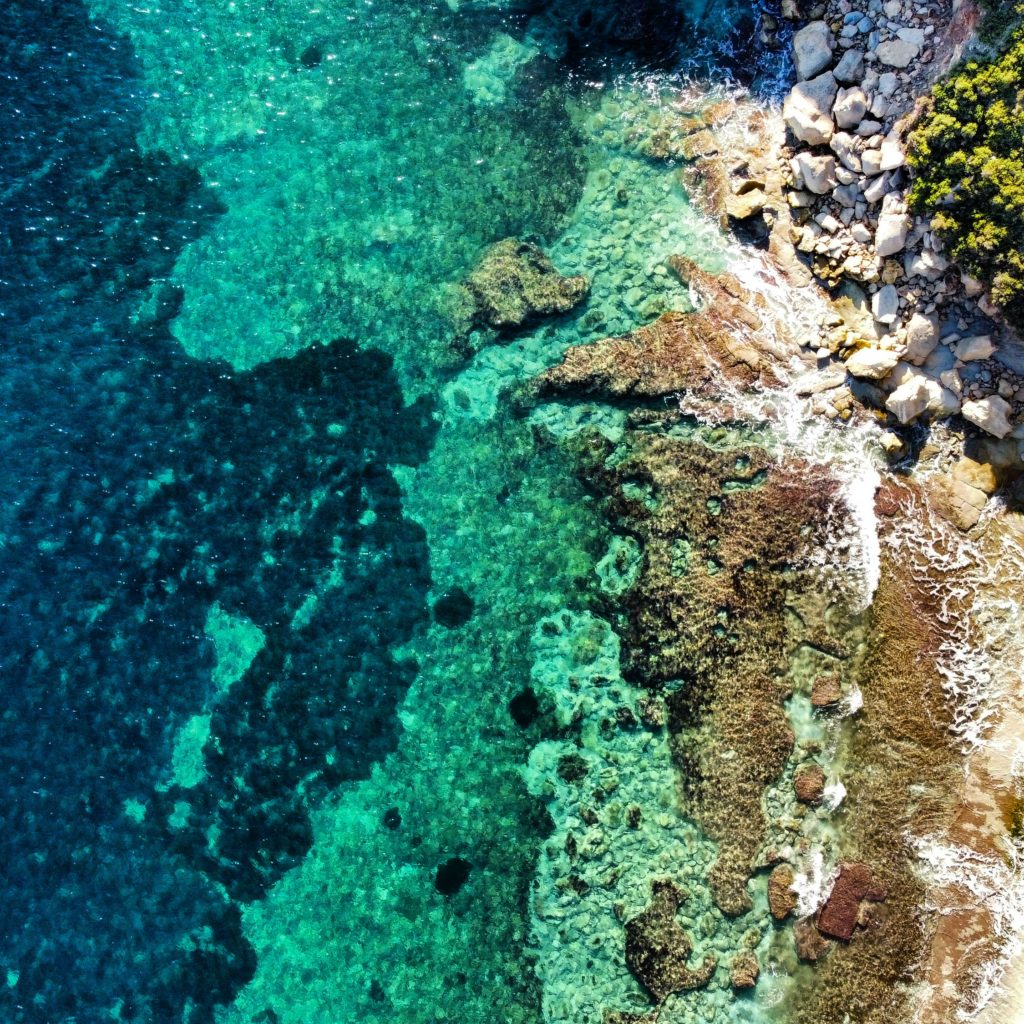
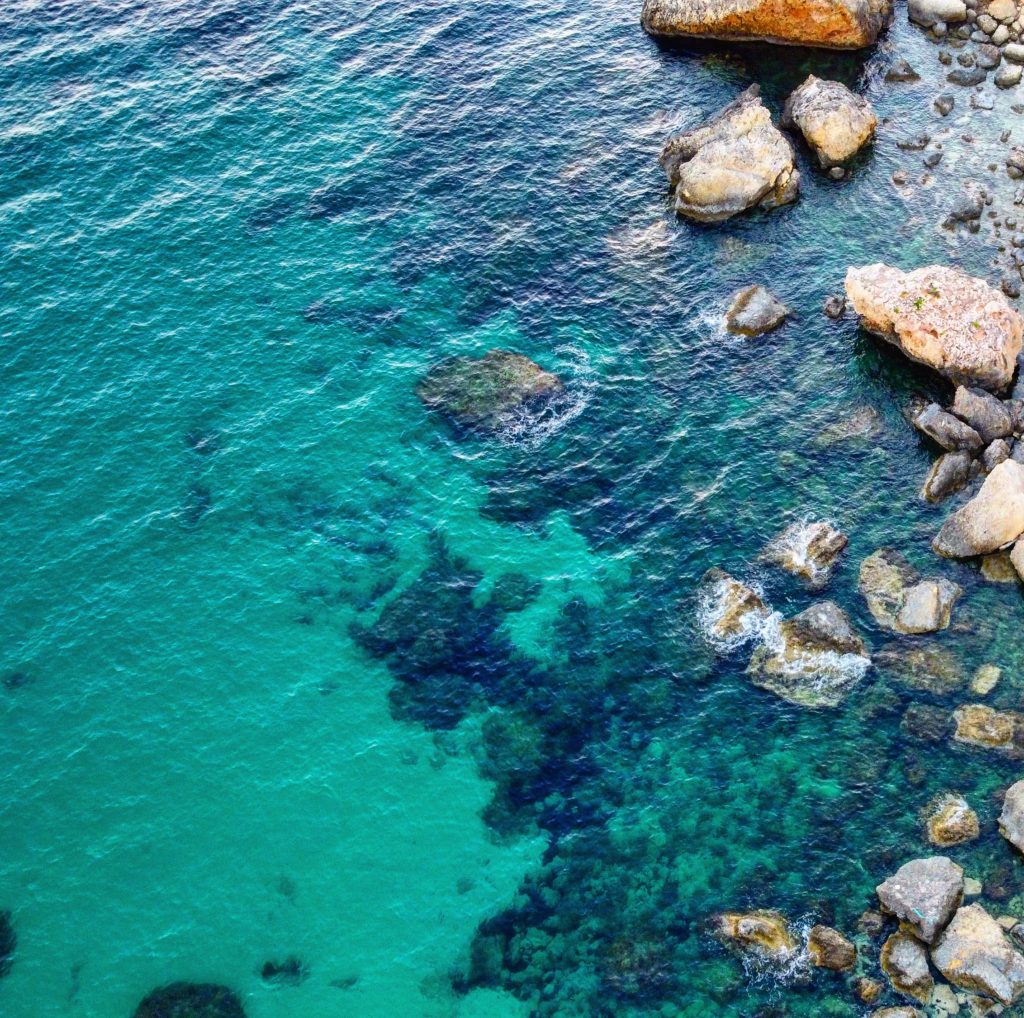
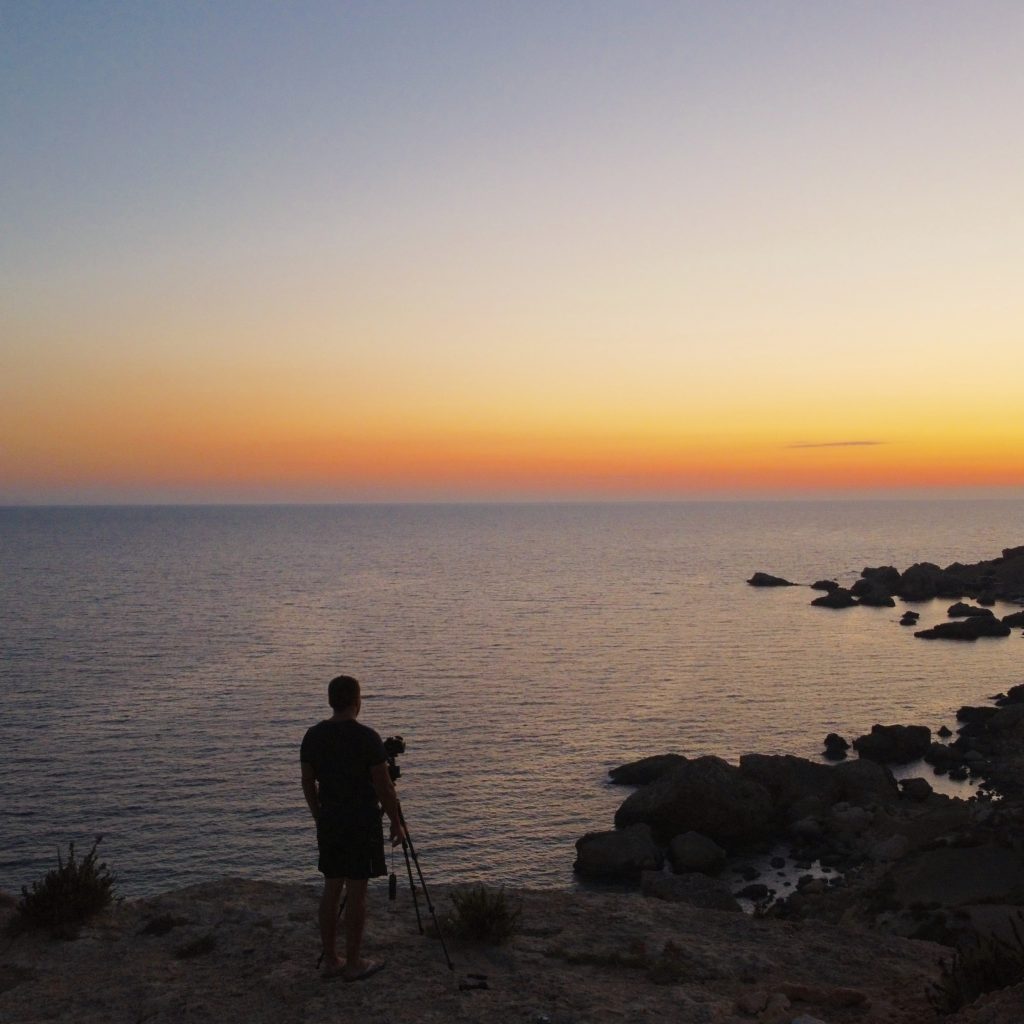
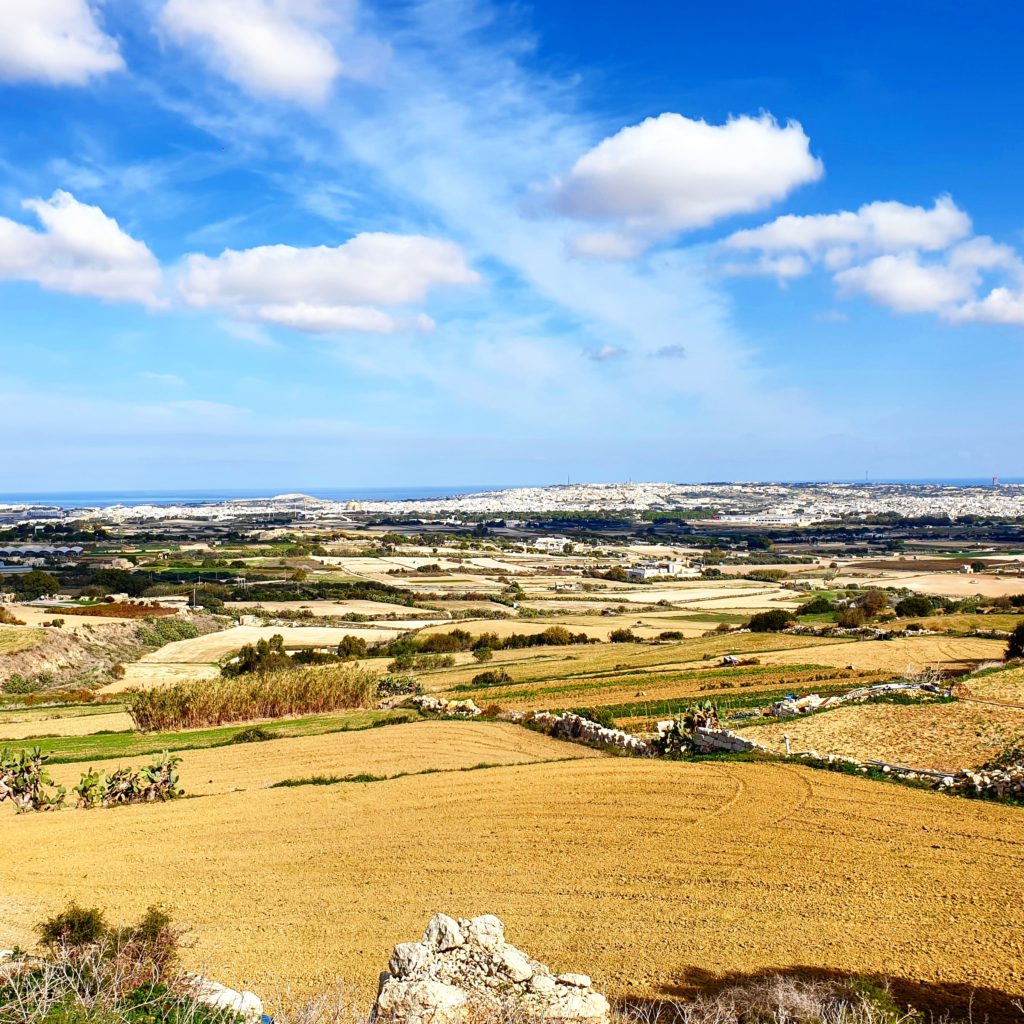
If you’ve been following my spaces, you probably noticed that I finally managed to get my hands on an electronic eagle! A Mavic Mini drone which I have added to my tiny collection of photography and videography equipment. The Mavic Mini by dji is a 249g ultralight drone which I purchased with the idea to pass some time and eventually focus on building some new content consisting of local and foreign landscape captures. I’ve always been fascinated with aerial shots and the different perspective of having an aerial lens. An extra eye in the sky.
After a considerable amount of research it became clear that the weight was particularly important. Many countries actually require a drone-pilot license to pilot devices exceeding 249g; so it made sense to start out with an unproblematic device which did not require too much paperwork and bureaucracy to fly. Having such a small weight means that I can also carry my Nikon DSLR too without breaking my back.
I managed to find a pretty good deal on a bundle known as the Combo. I’m now equipped with a carry case, a drone with a 12MP camera capable of shooting 2.7K Quad HD videos, a remote controller with the ability to maintain a HD video feed at a distance of up to 2km and three batteries! At around €500, the bundle wasn’t exactly cheap but considering the goodies inside the box and company support, I believe it was worth the expense. The Combo also comes with spare propellers, a micro USB cable, a gimbal flight protector, spare screws, RC cables and a screwdriver too. The price did not include the micro memory card, which needs to be purchased separately.
Any unforeseen problems?
I’m obviously no pro with the drone. I am still learning. I have used the drone a handful of times and yeah, I have naturally bumped into a few problems, the bulk of which can be avoided. Here are a few things that I’ve learnt till now:
- Do not fly the drone indoors – to experiment a bit, like a kid, I did the mistake of flying it inside a narrow apartment corridor and bashed it against the wall. Avoid this if possible or at least install the propeller protectors before you do to avoid damaging the drone.
- Launch the drone in an open field – find an open space where you can learn to maneuver the drone. Give yourself time to get used to the system of hovering, tilting, rotating and general functionality. Sometimes even syncing the controller with the drone takes some getting used to!
- Confidence comes gradually – I still get a bit concerned about the drone getting attacked by a seagull. Joking aside, the device offers a number of features to help you increase confidence gradually. For example you can set a limited distance or altitude.
- Drone auto-return feature: Always make sure the auto-return altitude (height) of the drone is above any buildings, trees and street lights or cable. In case the connection between the controller and the drone is lost, it will come back automatically based on the settings you give it. Avoid areas with many satellites and cranes due to interference.
- Not particularly ideal for Malta: Being a small island, I’ve bumped into numerous issues on the locations where I can fly the drone. Due to the airport being centrally located, a big ‘X’ crosses much of the island creating multiple spots which are no fly zones. Don’t be discouraged though, it means you will need to find places which are not frequented by loads of people. A new Maltese regulation also requires you to register the drone. Refer to the following site for more information. Hunting season gives a new reason to worry about it too.
Reach out if you’re looking for some guidance and stay tuned for some new captures and some videography projects that I am currently working on.

